 TutorMate


1Introduction
1.1 About TutorMate
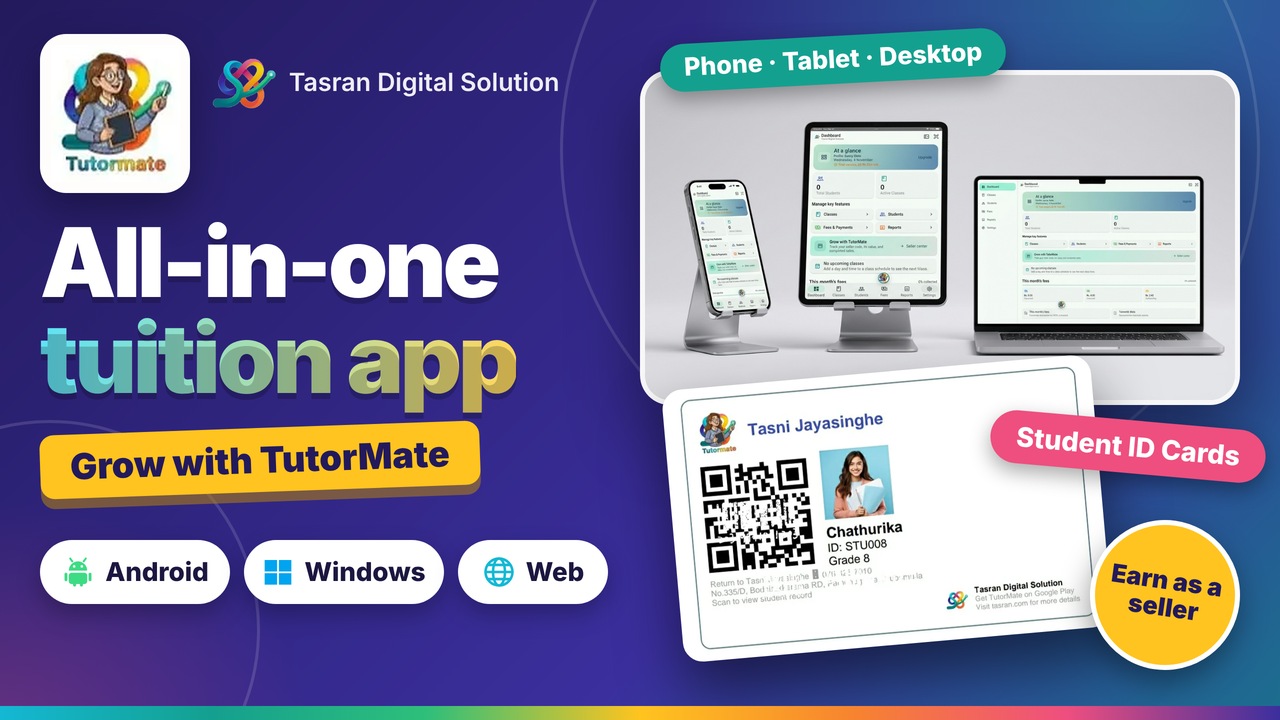
TutorMate is a tuition management application designed to help individual teachers efficiently manage their students, classes, attendance, fee payments, reports, and related administrative activities.
The application provides a simple and organized way to maintain student information while reducing manual record-keeping.

1.2 Key Features
- Student Management
- Class Management
- Student ID Card Generation
- Attendance Management
- Fee Management
- Automatic Data Backup
- Manual Data Backup
- Student Import Using Excel
- Reports and Payment History
- Multi-Language Support
- SMS Notifications
- Student and Class Information Management
AITutorMate Assistant
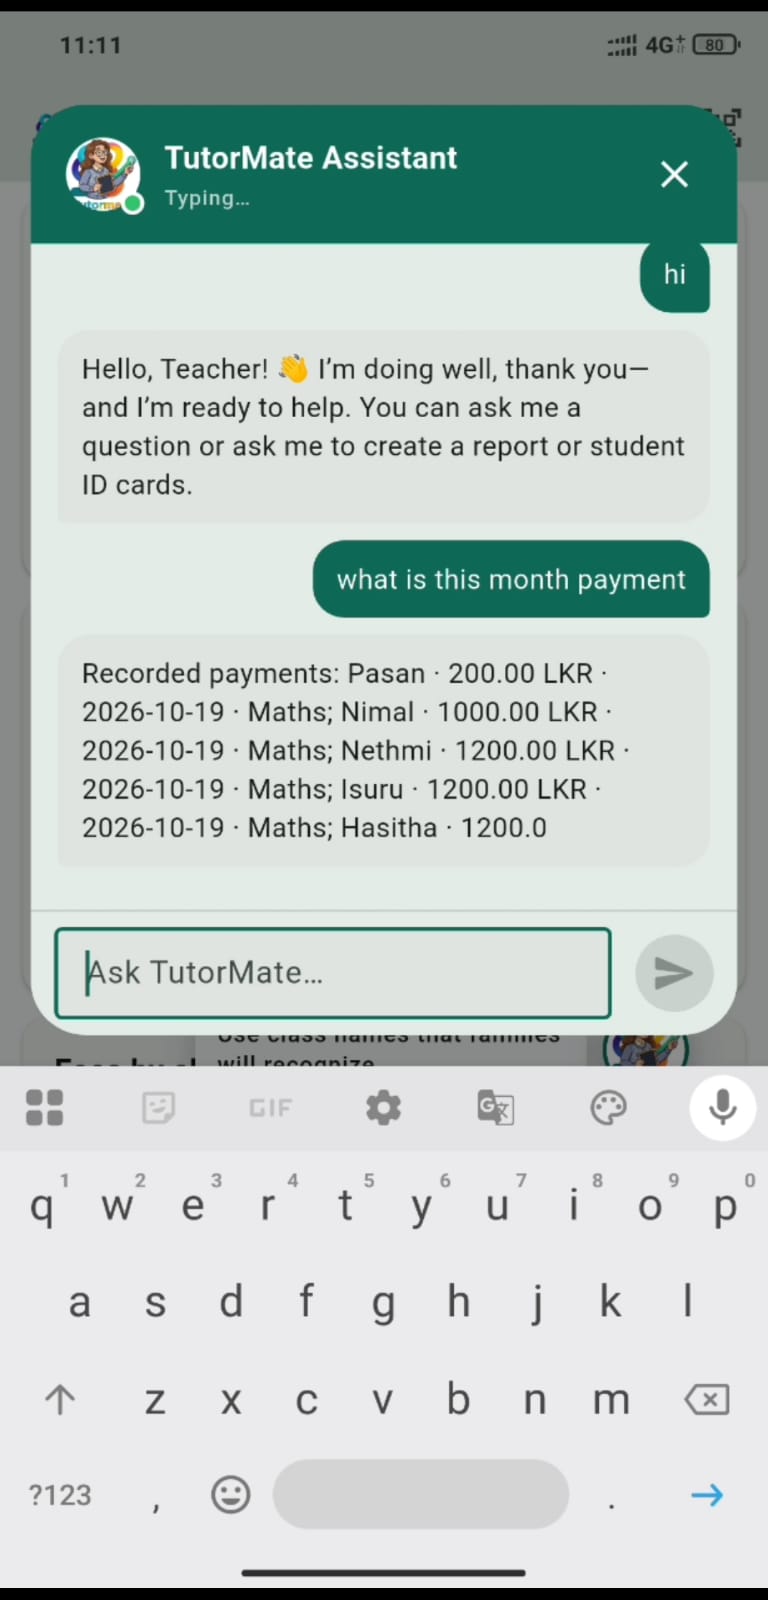
Meet your in-app helper for everyday tuition administration. Ask in plain language, look up information already saved in TutorMate, or ask the assistant to prepare a report or student ID cards. You can type naturally—there is no special command syntax to learn.
Ask a question. Get a clear next step.
Tap the floating TutorMate assistant on the Dashboard to open chat. Ask for help, ask about your saved records, or tell it what file you need.
See the assistant
How to use the assistant
The assistant in action
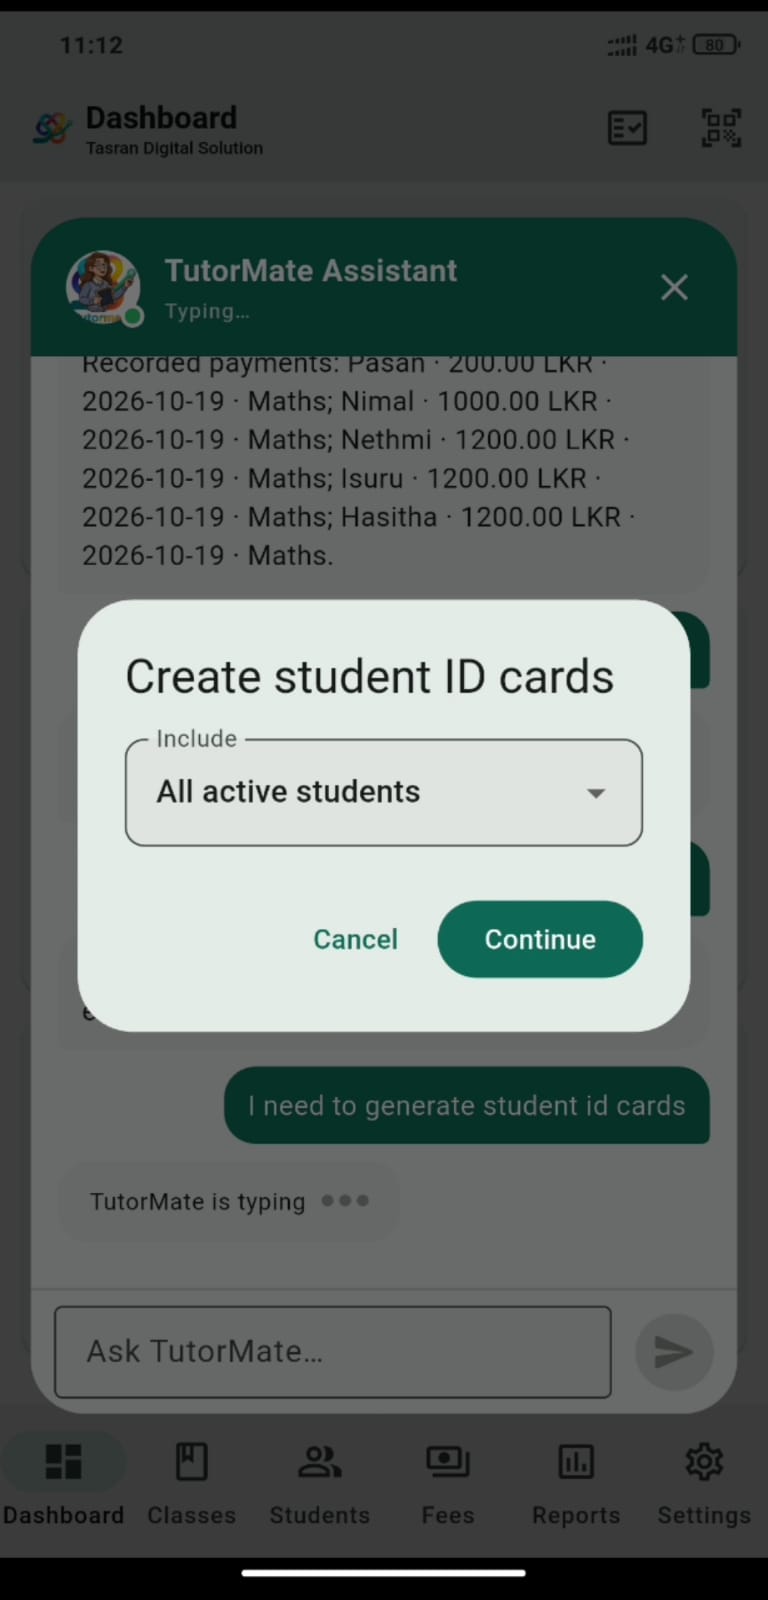
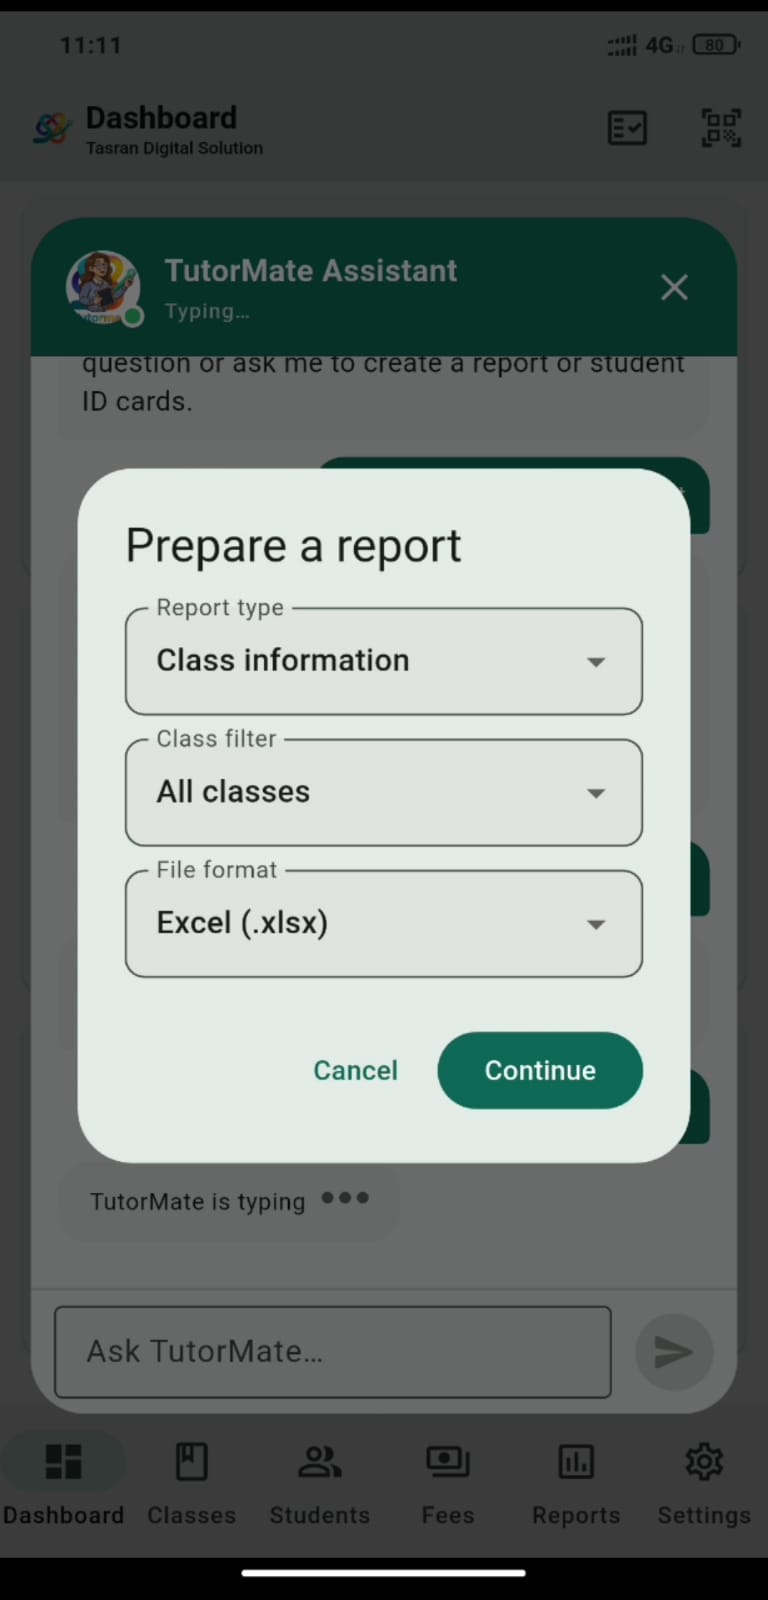
Explore the assistant’s chat, student ID-card selection, and report setup. Each screen is shown in a phone-style frame so the details stay clear on desktop and mobile.
Questions you can try
Filters, privacy, and helpful tips
- When a file can include different records, the assistant opens a selection dialog. ID card options are all active students, a class, or one student. Report options include report type, class, file format, and—where relevant—a date range; institute accounts can also filter by teacher.
- If the request does not identify the data clearly, be more specific: name the record type (students, classes, fees/payments, or attendance), plus a class, student, or time period if needed.
- Fee questions use recorded fee-period/payment data. If no date range is provided, payment summaries use the current month. The assistant cannot infer absences because TutorMate stores attendance marked present, not absence records.
- The assistant reads TutorMate’s local records for supported lookups. Its replies are produced by built-in matching and app logic; it does not send your student records to a paid generative-AI service.
↗Grow with TutorMate
Teachers and institutes can help more people discover TutorMate through the Seller Center. It provides a seller code and a dashboard for tracking completed seller-code purchases and the value still available to sell.
Become a seller
- Open Seller Center in the app.
- Introduce three new institutes or teachers who purchase an eligible TutorMate package.
- In Seller Center, enter the installation ID for each of the three referrals, then tap Generate code.
- Complete seller verification. Once verification is complete, your seller code will appear in Seller Center.
How the seller code value works
The seller-code value is based on the average package value of the three verified referrals. For example, if their packages total LKR 150,000, the average—and the seller-code value—is LKR 50,000.
You can offer your code to another person and agree on a price with that buyer. The buyer pays you directly; this is not a cash withdrawal from TutorMate. The amount you receive depends on the price you agree with the buyer.
Track your seller activity
- Total sales shows completed purchases made using your seller code.
- Pending value to sell shows the remaining seller-code value. Seller Center displays LKR and an approximate USD value calculated using the payment service exchange rate.
- Your code is available after seller verification; referrals count toward the seller setup once their eligible purchases are verified.
2Getting Started
After opening TutorMate, the Dashboard provides access to the main functions of the application. The main areas are:
- Dashboard
- Classes
- Students
- Fees
- Attendance
- Reports
- Settings

3Student Management
The Students section allows teachers to maintain complete student records.
3.1 Create a Class
Before adding students, you need to create at least one class to assign them to.
- Open Classes.
- Select Add Class.
- Enter the class details (e.g., class name, grade, subject, fee rate).
- Save the class record.


3.2 Add a Student
TutorMate provides two convenient options for onboarding students:
- Add Students Individually
Teachers can add students one by one by entering the required student information manually. This option is suitable when adding a small number of students or registering students individually. - Import Students Using Excel
Teachers can add multiple students at once by importing an Excel file. An Excel template is available under Settings → Information to help ensure that the student data is entered in the correct format before importing.


3.3 Student ID
TutorMate can generate a unique Student ID for each student. The generated ID can be used to identify students consistently throughout the application, including attendance, fee records, reports, and other student-related activities.
4Student ID Card
TutorMate provides a facility to generate student ID cards automatically.
4.1 Generate an ID Card
- Open the Students section.
- Select the required student.
- Select Generate ID Card.
- Review the student information.
- Generate or print the ID card.
The ID card can contain relevant student details such as:
- Student Name
- Student ID
- Grade/Class
- Student Photograph
- Teacher/Class Information
This feature eliminates the need to manually design an individual ID card for each student.


5Class Management
The Classes section allows teachers to organize students according to their tuition classes.
5.1 Create a Class
- Open Classes.
- Select Add Class.
- Enter the class information.
- Save the class.
Classes can then be associated with students and used for:
- Attendance
- Fee management
- Student management
- Class reports
6Attendance Management
TutorMate allows teachers to maintain attendance records digitally.
6.1 Mark Attendance
Mark attendance quickly using the QR Scanner and the student's generated ID card.
- Open the TutorMate QR Scanner.
- Scan the student's QR code from their TutorMate ID card.
- The student's attendance will be marked automatically.
- Continue scanning the remaining students' ID cards to complete the attendance.

This QR-based attendance process helps teachers record attendance quickly and reduces the need for manual attendance marking.

6.2 Attendance History
Previously recorded attendance can be reviewed to understand a student's attendance history and class participation.
7Fee Management
TutorMate provides a centralized system for managing student tuition fees.
7.1 Record a Fee Payment
- Open the TutorMate QR Scanner.
- Scan the student's QR code from their TutorMate ID card.
- Enter the payment details.
- Confirm the payment.
- Save the transaction.


The payment history is associated with the relevant student and can be reviewed later.
7.2 Payment History
TutorMate maintains payment records so teachers can review:
- Previous payments
- Payment dates
- Payment amounts
- Student payment history
This reduces the need to maintain separate manual payment records.
7.3 Outstanding Fees
The application can identify students with outstanding payments. The Outstanding Fee Report can be used to quickly identify students who have unpaid or pending fees.
8Reports
TutorMate provides reports to help teachers monitor student and financial information. Available reports include:
8.1 Student Report
Provides an overview of registered students and their relevant information.
8.2 Class Report
Provides information organized according to classes. This can be useful for reviewing the number of students and class-related information.
8.3 Outstanding Fee Report
Displays students with outstanding or pending fee payments. This helps teachers follow up on unpaid fees.
8.4 Payment History Report
Provides a record of fee transactions and payment history. Teachers can use this report to review historical payments for students.

9Student Import Using Excel
TutorMate supports importing student information using an Excel file. This feature is particularly useful when adding a large number of students.
9.1 Download the Excel Template
TutorMate provides an Excel template that should be used when preparing student information for import. The template can be found under:
Settings → Information → Student Import XLSX Sample
9.2 Prepare the Excel File
- Download the Excel template.
- Enter the student information into the appropriate columns.
- Review the information for accuracy.
- Save the Excel file.
9.3 Import Students
- Open the Student Import option.
- Select the prepared Excel file.
- Review the information detected by TutorMate.
- Confirm the import.
- TutorMate will create the corresponding student records.
Before importing a large number of students, it is recommended to review the Excel file carefully to avoid incorrect or duplicate information.
10Automatic Backup
TutorMate provides automatic backup functionality to help protect important application data. Automatic backup reduces the need for teachers to manually create backups on a regular basis.
The backup process is designed to help preserve important information such as:
- Student records
- Class information
- Fee records
- Attendance records
- Other application data
11Manual Backup
TutorMate also allows users to create a backup manually.
11.1 Create a Manual Backup
- Open Settings.
- Go to the Backup & Restore section.
- Select Create Backup.
- Follow the instructions displayed by the application.
- Store the backup safely.
Manual backup can be useful when:
- Moving to another device
- Reinstalling the application
- Before making major changes
- Keeping an additional copy of important records
12Restore Data
If TutorMate provides a restore option in the current version, users can restore previously backed-up data. Before restoring a backup, ensure that the backup file is valid and belongs to the required TutorMate account/data set.


13Multi-Language Support
TutorMate supports multiple languages to provide a more accessible experience for teachers.
13.1 Change Application Language
- Open Settings.
- Go to Profile → Regional Setting → Language.
- Select the preferred language.
- The application interface will be displayed in the selected language.
The available languages depend on the current TutorMate release. Language support allows teachers to use TutorMate in their preferred language without changing the underlying student or financial records.
14SMS Notifications
TutorMate provides SMS functionality to help teachers communicate with parents or students. SMS can be used for purposes such as:
- Fee payment notifications
- Payment confirmations
14.1 Send an SMS
- Open the TutorMate QR Scanner.
- Scan the student's QR code from their TutorMate ID card.
- Record the payment.
- Select the SMS option.
- Review the recipient's mobile number.
- Review or enter the message.
- Select Send SMS.
15Data Security and Backup
Student, attendance, and financial information is important and should be handled carefully. Users are recommended to:
- Keep regular backups.
- Protect their device with a secure screen lock.
- Avoid sharing backup files with unauthorized persons.
- Verify imported student information.
- Keep contact information up to date.
- Perform a manual backup before changing or replacing devices.
16Multiple-Device Connectivity
Multiple Devices uses a local-network hub: either an Android device or a Windows computer can act as the hub, while other supported Android or Web installations connect as clients. Supported student, class, enrollment, fee-period, payment, and attendance records synchronize over the same Wi-Fi network. No internet connection, cloud relay, or cloud database is required for this LAN method.
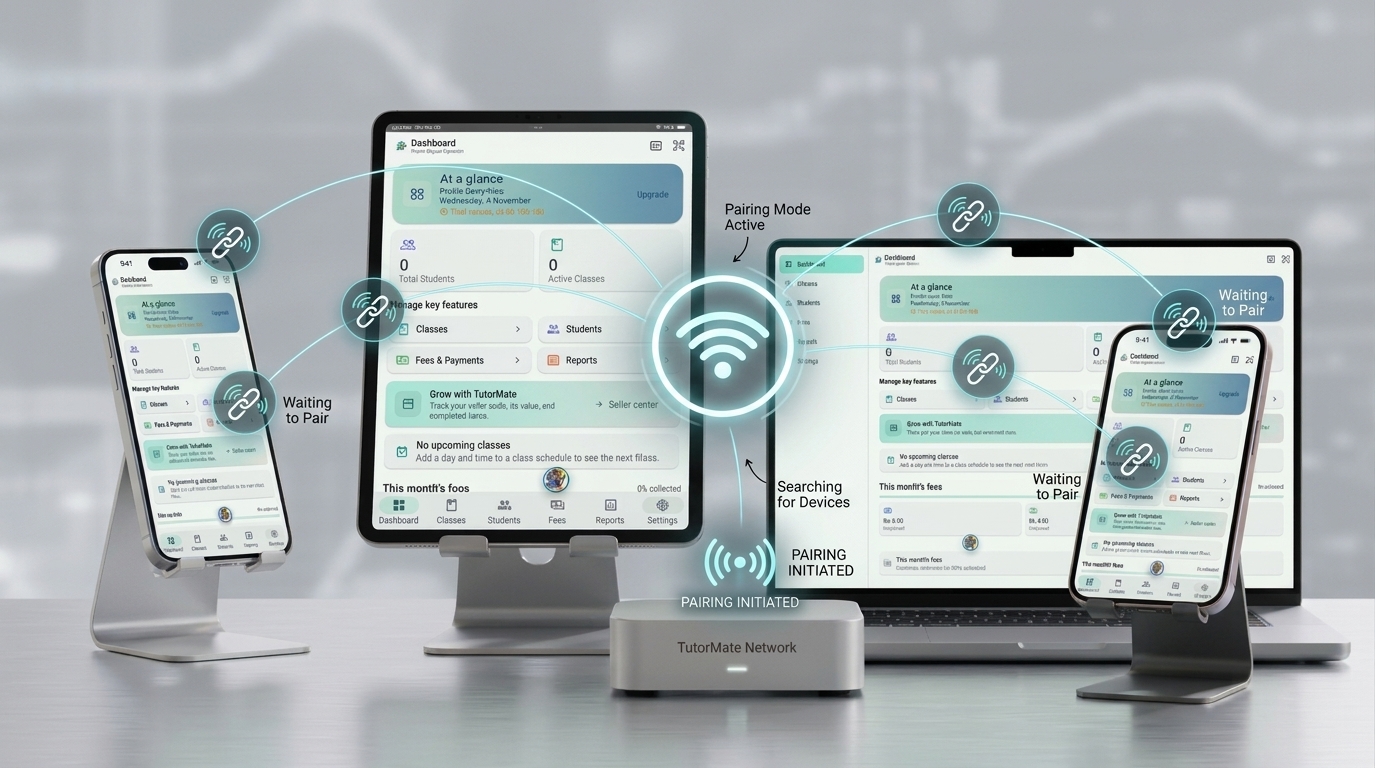
16.1 Set Up the Hub and Connect Devices
- Connect the Android or Windows hub and all clients to the same trusted Wi-Fi network. Guest networks, VPNs, mobile data, or router/client isolation can block device-to-device connections.
- On the Android device or Windows computer that will be the hub, open TutorMate’s Settings, turn on Multiple Devices, then choose the option to use this device as the hub in Set up local network sync.
- On the hub, choose Pair Android or web clients → Show QR. Keep TutorMate open; the QR displays the hub’s private network address.
- On another Android device, open Settings → Multiple Devices, select Connect to hub, then scan the hub QR or enter its private IPv4 address (for example, 192.168.1.25).
- On a Web client, open Settings → Multiple Devices, select Continue to pair hub, then scan the QR or enter the hub’s private IPv4 address and select Save. If camera scanning is unavailable, enter the address manually.
- Make sure every device has the same academy name in its profile. Select Check connected devices to refresh and confirm the LAN connection. The hub supplies its current supported records to a newly connected client; supported changes then synchronize periodically while devices are reachable.
17Recommended User Workflow
For efficient day-to-day management, teachers can follow this workflow:
At the Beginning of a Term
- Create the required classes.
- Add existing students.
- Import students using the Excel template where applicable.
- Verify student information.
- Generate student ID cards.
During Classes
- Open the TutorMate QR Scanner.
- Scan the student's QR code from their TutorMate ID card.
- Mark student attendance.
- Update student information when required.
During Fee Collection
- Open the TutorMate QR Scanner.
- Scan the student's QR code from their TutorMate ID card.
- Record the payment.
- Verify the payment amount.
- Send an SMS notification where required.
Periodically
- Review outstanding fees.
- Review payment history.
- Review student and class reports.
- Create a manual backup.
18Troubleshooting
Student information is not appearing correctly
Excel import failed
- The official TutorMate Excel template is being used.
- Required fields are populated correctly.
- The Excel file has not been modified in a way that changes the expected structure.
- Student information follows the required format.
Backup is not available
SMS cannot be sent
19Best Practices
For reliable and organized record management, TutorMate users should:
- Use a consistent naming format for students.
- Keep parent/guardian contact numbers updated.
- Record payments immediately after receiving them.
- Mark attendance on the correct date.
- Review outstanding fees regularly.
- Use the official Excel template for bulk imports.
- Maintain regular backups.
- Keep at least one additional backup when changing devices.
- Review reports periodically to identify missing or incorrect records.
20TutorMate Pricing and Annual License
TutorMate is available as an annual subscription. The annual payment is based on the maximum number of students supported:
| Student Capacity | Annual Payment | Approx. USD* |
|---|---|---|
| 1–5 Students | Rs. 499 | $1.51 |
| 6–10 Students | Rs. 999 | $3.02 |
| 11–15 Students | Rs. 1,499 | $4.53 |
| 16–20 Students | Rs. 1,999 | $6.04 |
| 21–30 Students | Rs. 2,999 | $9.06 |
| 31–40 Students | Rs. 3,999 | $12.08 |
| 41–50 Students | Rs. 4,999 | $15.10 |
| 51–75 Students | Rs. 6,999 | $21.14 |
| 76–100 Students | Rs. 8,999 | $27.18 |
| 101–150 Students | Rs. 11,999 | $36.24 |
| 151–200 Students | Rs. 14,999 | $45.30 |
| 201–300 Students | Rs. 19,999 | $60.40 |
| 301–500 Students | Rs. 29,999 | $90.60 |
| 500+ Students | Rs. 49,999 | $151.00 |
Annual Access
Each annual payment provides one year of access to the selected TutorMate student capacity. Renew the subscription annually to continue access.
21Summary
TutorMate brings essential tuition management activities into a single application. Teachers can manage students and classes, generate student ID cards, record attendance and fees, monitor outstanding payments, generate reports, import student information through Excel, communicate through SMS, and maintain data through automatic and manual backups.
By using these features consistently, teachers can reduce manual administrative work and maintain their tuition records in a structured and accessible manner.